TOP ▲
itcore TOP
> TIPS
> rocketchat.php
タグ:rocketchat RocketChat in CentOS7 インストール| itcore 2017年
CentOS7
MongoDB他
RocketChat
管理者
クローズド
SSL化
日本語
smtp
ユーザ追加
room追加
CentOS7
CentOS7をインストールします。
エンタープライズ Linux 用の拡張パッケージ
EPEL(Extra Packages for Enterprise Linux)のリポジトリをインストールします。
# yum -y install epel-release
ソフトウェアをアップデートします。
# yum clean all; yum -y update
MongoDB他
MongoDBのリポジトリファイルを作成します。
# vi /etc/yum.repos.d/mongodb.repo
以下を記述
[mongodb]
name=MongoDB Repository
baseurl=http://downloads-distro.mongodb.org/repo/redhat/os/x86_64/
gpgcheck=0
enabled=1
node.js, mongodbなどをインストール
# yum install -y nodejs curl GraphicsMagick npm mongodb-org-server mongodb-org gcc-c++
# npm install -g inherits n
RocketChatが使うNode.jsの推奨バージョンをインストールします。
最新状況確認(「recommended」を検索)
# n 4.8.4
RocketChat
RocketChatをインストールします。
# cd /opt
# curl -L https://download.rocket.chat/stable -o rocket.chat.tgz
# tar zxvf rocket.chat.tgz
# mv bundle Rocket.Chat
# cd Rocket.Chat/programs/server
# npm install
# cd ../..
# vi rocketchat.env
以下を入力
PORT=3000
ROOT_URL=http://[host or IP]:3000/
MONGO_URL=mongodb://localhost:27017/rocketchat
MongoDBを起動します。
# systemctl start mongod
# chkconfig mongod on
Rocket.Chatサービスを作成します。
# vi /usr/lib/systemd/system/rocketchat.service
以下を入力
[Unit]
Description=The Rocket.Chat server
After=network.target remote-fs.target nss-lookup.target nginx.target mongod.target
[Service]
ExecStart=/usr/local/bin/node /opt/Rocket.Chat/main.js
EnvironmentFile=/opt/Rocket.Chat/rocketchat.env
StandardOutput=syslog
StandardError=syslog
SyslogIdentifier=rocketchat
User=root
[Install]
WantedBy=multi-user.target
# systemctl enable rocketchat.service
# systemctl start rocketchat.service
# systemctl status rocketchat
抜粋
Active: active (running) since 火 2017-10-31 15:44:55 JST; 5s ago
ファイアウォール 3000番ポートを開放します。
# firewall-cmd --add-port=3000/tcp --zone=public --permanent
# firewall-cmd --reload
# firewall-cmd --list-all
抜粋
ports: 3000/tcp
Rocket.Chatにアクセス
http://[host or ip]:3000
再起動して自動的に立ち上がるか確認
shutdown -r now
管理者
最初にアカウントを作成した人が管理者となります。
もし管理者がいなくなってしまったら、環境設定ファイルに指定することで管理者を作成することができます。
ドキュメント
# vi rocketchat.env
以下を追加
ADMIN_USERNAME=admin
ADMIN_PASS=supersecret
ADMIN_EMAIL=admin@example.com
クローズド
誰もがアカウントを作れるのではなく、
管理者の方でアカウントを作るようにする。
管理者でログイン
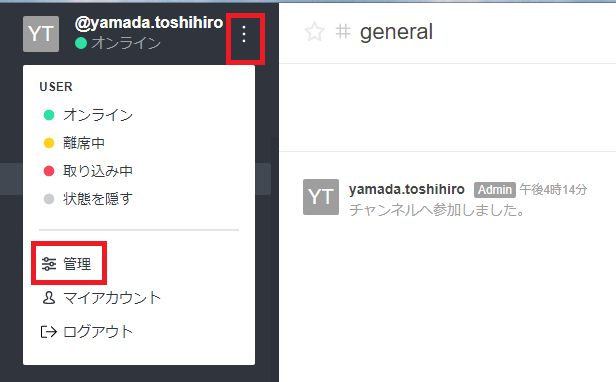
左上のメニューから管理をクリック
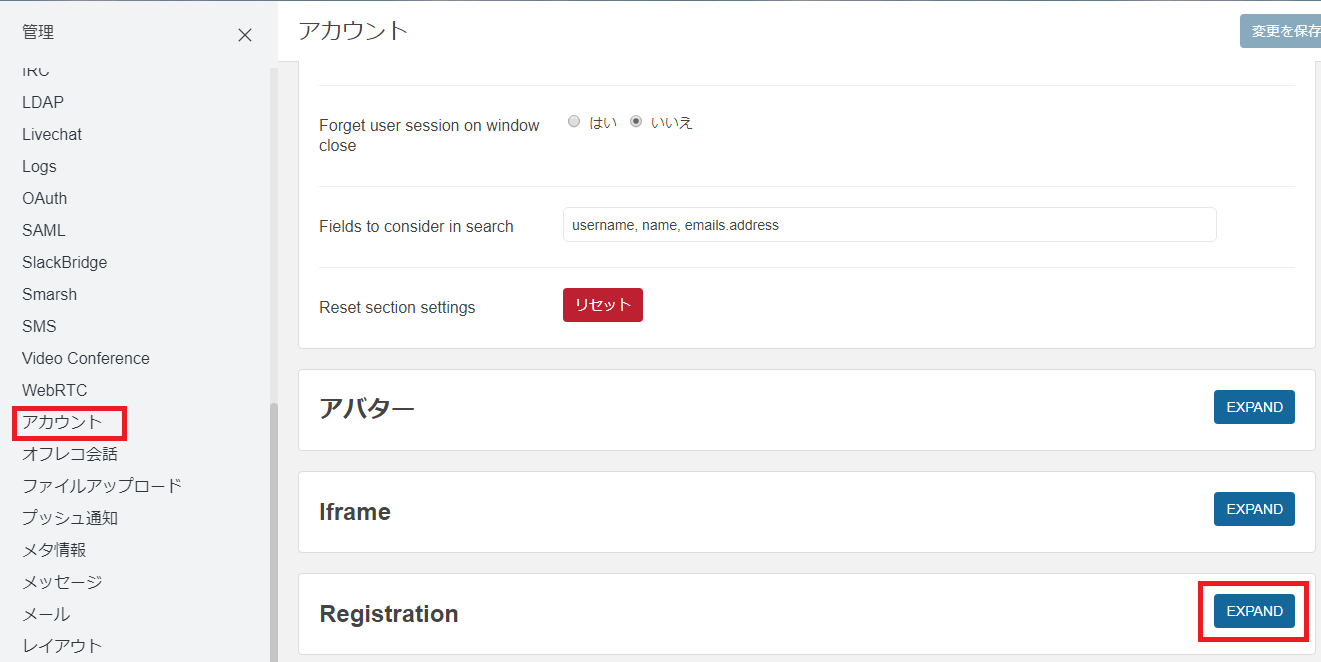
左メニューのアカウントをクリックして、
一番下にある「Registration」の「EXPAND」をクリックして開く。
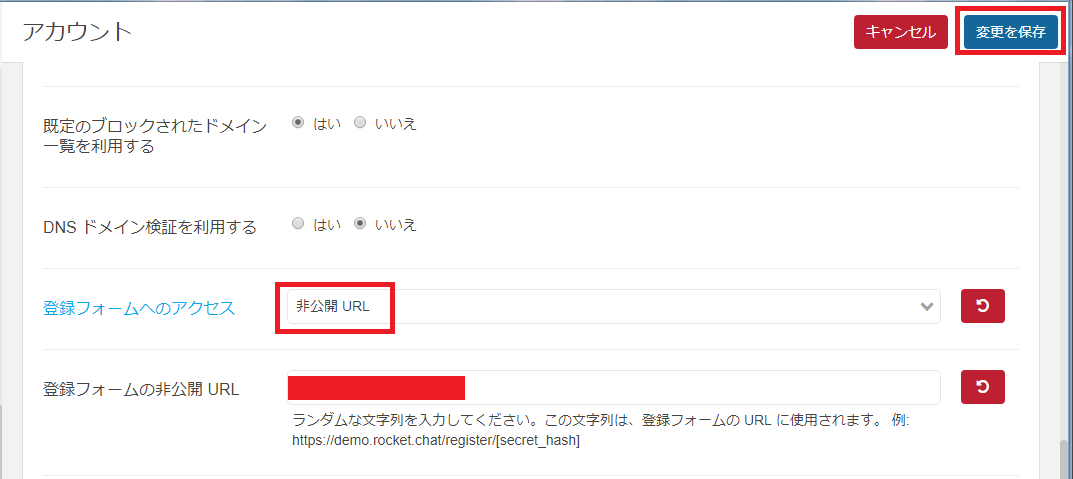
「登録フォームへのアクセス」を非公開にする。
「登録フォームの非公開URL」に任意の文字列を入れる。
右上の「変更を保存」をクリック
SSL化
SSLでアクセスできるようにする。
まず、ApacheとSSLをインストールする。
Apacheと無料SSLのインストール
Apacheにリバースプロキシを設定する。
# cd /etc/httpd/conf.d
# cp -ip ssl.conf ssl.conf_`date "+%Y%m%d"`
# vi ssl.conf
VirtualHostの最後に追加
<VirtualHost _default_:443>
# Rochet.Chat
SSLOptions +StrictRequire
ProxyPreserveHost On
ProxyPass /websocket ws://localhost:3000/websocket
ProxyPassMatch ^/sockjs/(.*)/websocket ws://localhost:3000/sockjs/$1/websocket
ProxyRequests Off
ProxyPass / http://127.0.0.1:3000/
ProxyPassReverse / http://127.0.0.1:3000/
</VirtualHost>
# systemctl reload httpd
https://chat.itcore.jp/
もしSELinuxが有効になっていると以下のエラーがでるので、そのときは無効化する。
selinux設定
Service Unavailable
The server is temporarily unable to service your request due to maintenance downtime or capacity problems. Please try again later.
エラーログ
tail /var/log/httpd/ssl_error_log
[Wed Nov 01 17:03:20.012215 2017] [proxy:error] [pid 10501] (13)Permission denied: AH00957: HTTP: attempt to connect to 127.0.0.1:3000 (127.0.0.1) failed
[Wed Nov 01 17:03:20.012313 2017] [proxy:error] [pid 10501] AH00959: ap_proxy_connect_backend disabling worker for (127.0.0.1) for 60s
[Wed Nov 01 17:03:20.012328 2017] [proxy_http:error] [pid 10501] [client 182.171.225.60:50721] AH01114: HTTP: failed to make connection to backend: 127.0.0.1
[root@centos7 httpd]#
https://chat.itcore.jp/
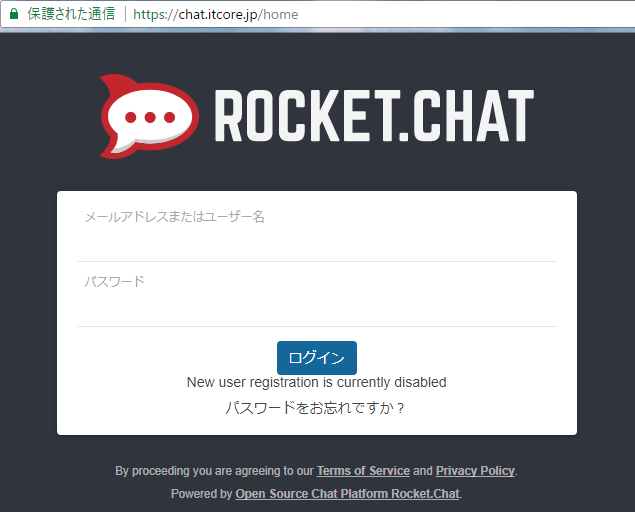
無事SSL化されました。
日本語
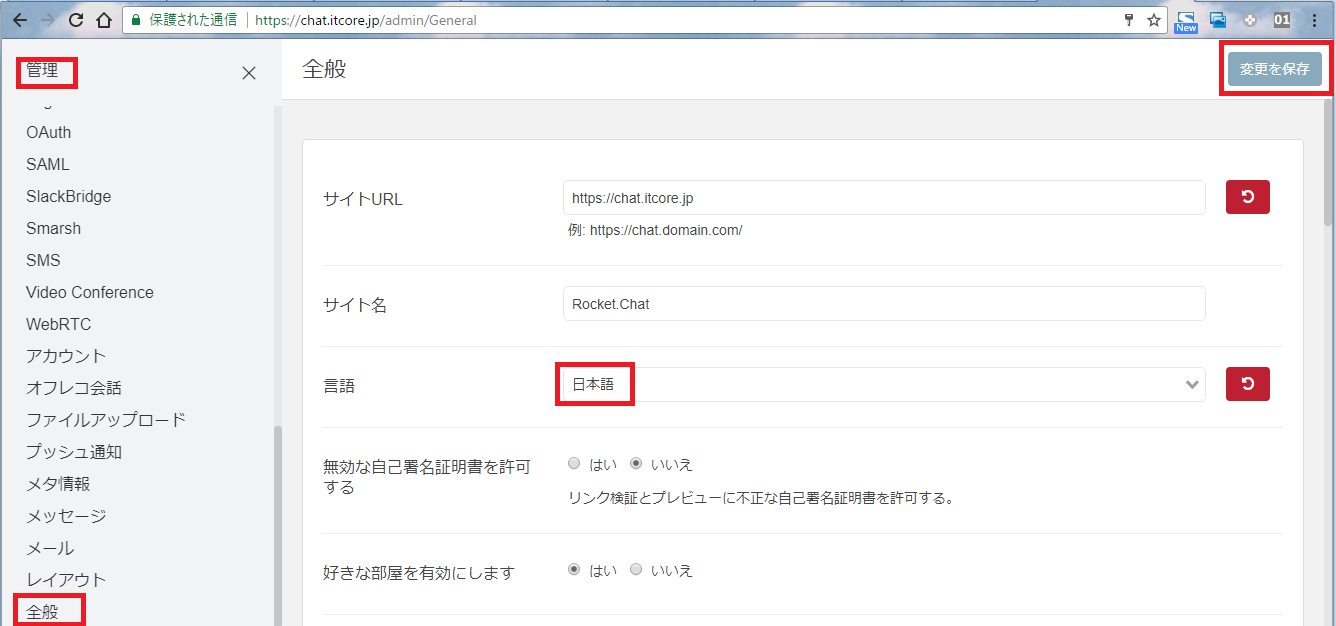
管理>全般>言語>日本語
デフォルトだとルーム名を日本語にできない。
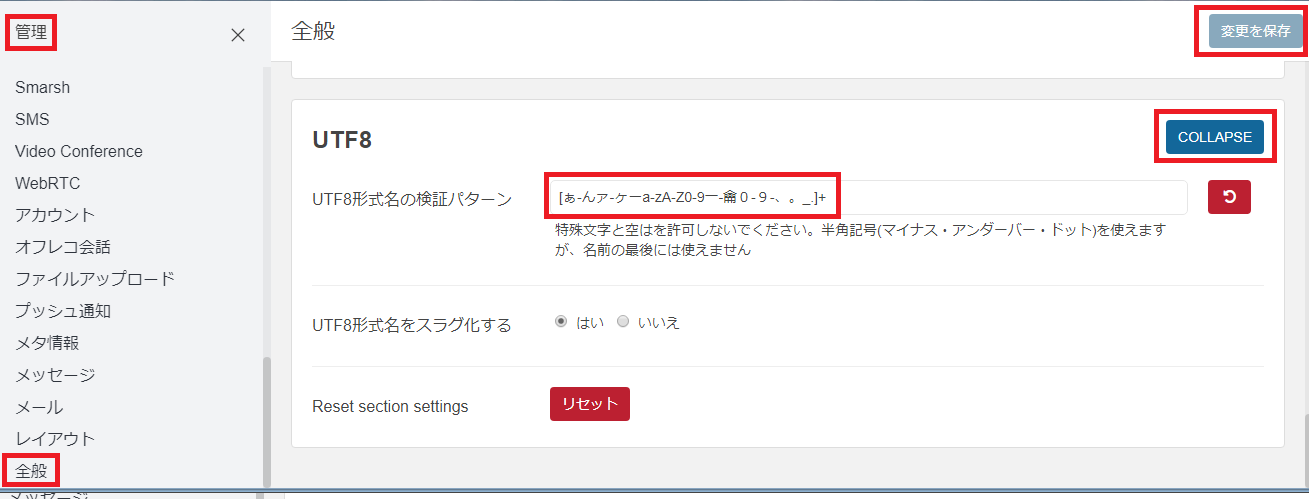
管理>全般>UTF8>EXPAND>UTF8形式名の検証パターン
変更前 [0-9a-zA-Z-_.]+
変更後 [ぁ-んァ-ヶーa-zA-Z0-9一-龠0-9-、。_.]+

ルーム名に日本語が使えるようになった。
smtp
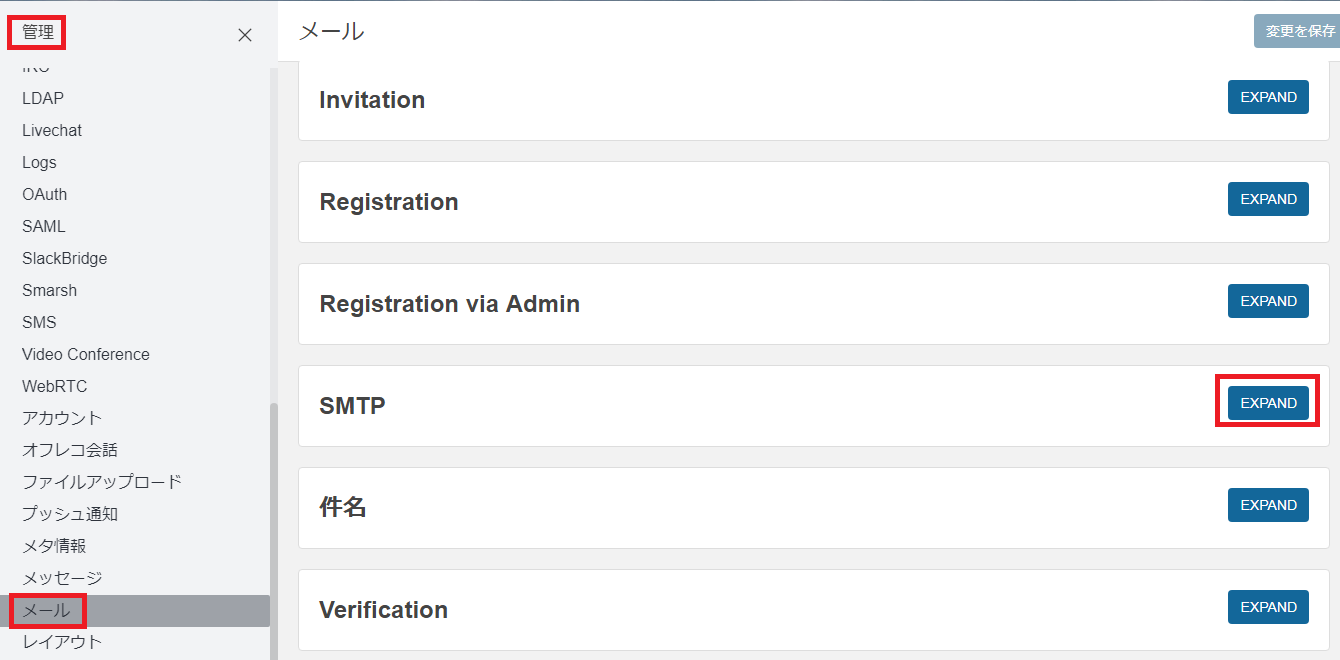
管理>メール>SMTP>EXPAND
ユーザ追加

管理>ユーザー>右上の+
ルーム追加
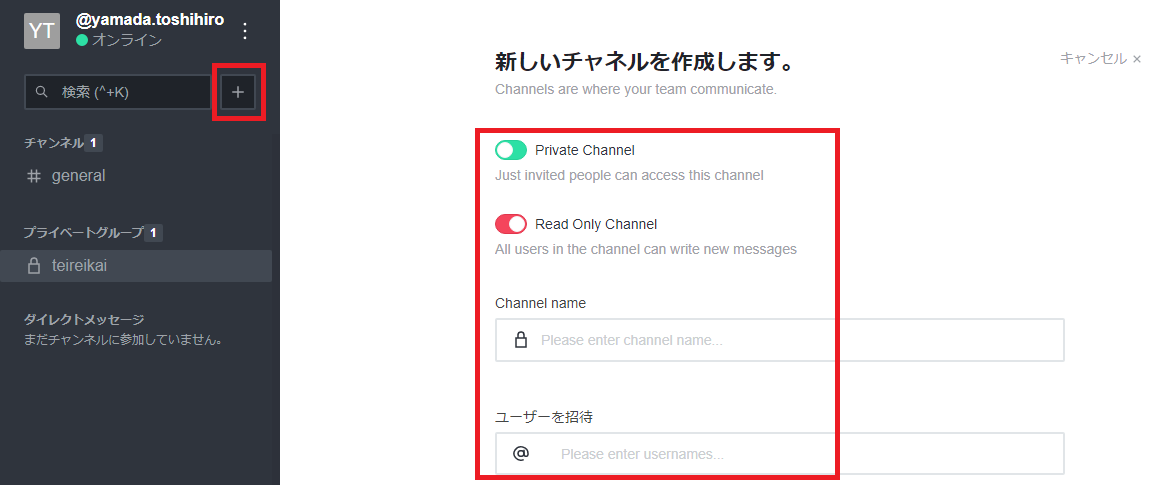
検索ボックス右の+